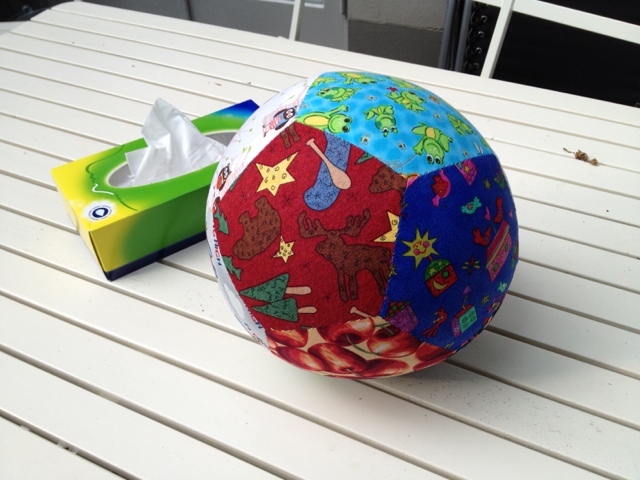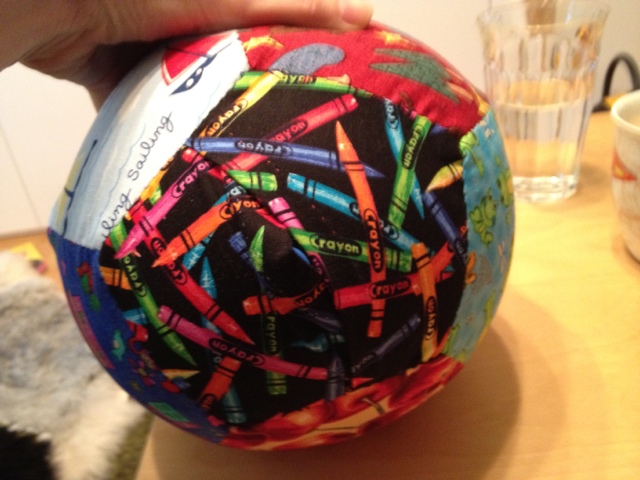
How to make this:
- Print 12 pentagons on normal printer paper and cut them out.
- You can make pentagons in Microsoft Word. It is under Insert --> Picture --> Autoshapes.
- Figure out how big you want your ball to be, and divide that measurement by 2.6. That will be the length of each side on your pentagons. Times this by 1.6 to find the width of your whole pentagon. (My pentagons were about 8.5cm along each side, 13.25cm wide, and my finished ball is about 22cm across.)
- Insert a pentagon and then make the pentagon as wide as the width you calculated above. Let Microsoft Word adjust the height proportionally.
- For eleven of the pentagons, place the paper on your fabric and cut roughly 1 - 1 1/2 cm outside the paper piece. (I used my roller cutter.)
- For each of these 11 pieces, place a paper pentagon against the wrong side of the fabric, and carefully fold the fabric seam allowance over the paper, making a sharp fold and keeping the fabric quite tight against the paper. Using a contrast colour thread, being careful to keep the paper centred in the fabric, hand baste (sew with big running stitches) about 5mm in from the edge, around all five sides. Now you should have eleven pentagons of fabric the same size as your paper pieces, with paper still inside.
- For the twelth pentagon, you need two pieces of fabric, each the full width of the pentagon plus seam allowances and about 2/3 the height of the pentagon plus seam allowances. In my case, with pentagons about 13.25cm wide, I needed two pieces each about 15.5 cm x 11cm. Take one long edge of each piece and turn about 1cm towards the wrong side, then fold over again; making a hem roughly 1cm wide. Sew along the hem. I hand sewed this with small running stitch, but you could just as easily machine sew it.
- Lay your two hemmed pieces of fabric right sides down next to each other, hem-to-hem, then overlap the two hemmed edges by about 3 cm, maybe a little less. Sew two seams at right-angles to the hemmed edges, joining the two overlapping pieces, from hem to hem, about 4-5 cm apart.
- Set your last paper pentagon over the two overlapping fabrics and pin, then baste as you did with the other eleven, folding the seam allowance around the paper.
- You should now have twelve fabric pentagons with paper sewn in.
- Load up a needle and thread with a matching thread. I used a variegated thread with my multi-coloured fabric, but anything that's not going to clash too badly is fine. It's better to match your thread to darker colours rather than lighter, if you want it to blend as much as possible. I used doubled thread; if this ball breaks it will because the fabric gives out, not because my sewing does!
- Take two pentagons and place right sides together. Then sew a ladder stitch seam to join the two pentagons along one edge. (For a quick run through on some options for different stitches and some pictures showing what the stitches look like, see the Sometimes Crafter here.) I tied off my sewing at every corner. This is possibly not necessary, but I wanted it to be easy to mend, if any sewing did start to come undone.
- Continue joining your pentagons in this pattern:
(image from Wikipedia)
It should look something like this:

- Join all the edges together. You do not need to leave any gaps for turning. When you've finished, it should look something like this:

- Carefully draw out all your basting threads and remove the paper pieces.

- Turn it inside out, through the gap between your overlapping piece.

- (This is where I though I was finished, but I realised that the overlapped pentagon was too wide, and the opening too big. So I sewed the seams described in paragraph 5 above now.)
- And here you have the finished product!

- Insert a balloon through the opening (with the mouth piece still outside) and inflate. You can just twist the balloon and tuck the end into the fabric ball. This makes it easy to deflate again and reuse the balloon, but it won't stay up for long. Otherwise tie off the balloon properly and tuck the end away inside.

Now that's it done, I do have a few "if I knew then what I know now" points.
- Firstly, the overlap is too big on this size pentagons, as I've said above. I only figured this out after the fact, so I've included instructions to make it a bit smaller before sewing up your overlapping pentagon. I didn't fix that until after I was otherwise finished.
- This ball is quite big. I think my little man will appreciate one slightly smaller, so I'm planning on making him a smaller one, and any extras I ever make for gifts will be a bit smaller.
- For my toddler, it's quite hard to grab this ball. So my next model for him will include some grab loops along a couple of the seams.
- It seems this is a popular toy indoors and outdoors. So his next version will not be made from quilting cotton fabrics, but rather some upholstery fabric samples I have lying around. This will be an outside version.
